Contents
Step-by-step guide to adding a Blog Post to your Shopify store.

Editing your Blog on your Shopify Store
How to style your Blogs on Shopify Store
For example, this section of your Blog content on your online store:
How to get your Blogs to rank on Google and search engines and get your online store to the top of the rankings.
How to add Blog Images to your Shopify store
Step-by-step guide to adding a Blog Post to your Shopify store.
Adding a Blog to your Shopify store is very easy, and you can do a lot with the Shopify blog editor, but here is my step-by-step guide to ensure you get the core pieces you need for each Blog, including website SEO and start ranking your online store on Google.
- Add your Title
- Add your Body Copy
- Structure your Body Copy with Styles
- Add your Excerpt
- Add your Image in the correct size
- Add Image Alt Text to your Image
- Add an Author
- Add a Tag
- Ensure your Blog is in the correct Blog
- Set the Visibility
Editing your Blog on your Shopify Store
If you are using a text editor like Microsoft Word or Google Docs for your content, it's essential to copy all of the content, paste it into Notes, and clear the formatting.
You want to clear the formatting because the website uses its preset styles. When you set styles in a text editing program, such as fonts, sizes, etc., and copy and paste it right into your website, you will copy over the code from the text editing program, which can override the code on your website.
Within Notes, select all the content, click the Format menu > Font > Remove Style. Now deselect your content, then reselect it and copy and paste it into the Blog editor in your Shopify store.
Using the Blog editor in your Shopify store, you can set the formatting much as you do in a text editing program. The styles have all been pre-defined during development, so you will only be selecting Paragraph, H1, H2, H3... styles and setting Numbered Lists, Bulleted Lists, and Bold, Italic, and Link styles within the Blog editor.
It would be best if you weren't manually setting colors, sizes, or fonts within the Shopify store Blog editor, as you may get unexpected results. You can, of course, try things out as you won't be able to break anything. It may lead to inconsistencies within the brand.
How to style your Blogs on Shopify Store

H1 (The Title)
There should only be one H1. This H1 Style is done by the system automatically when added to the Title section.
H2 (The Sections)
There can be multiple H2s. Use these to define each new content section (typically every 3-5 paragraphs)
H3 (The Subsections)
There can be multiple H3s, but they should be within the H2 sections. H3s are great for things like Bulleted and Numbered Lists.
Paragraph (The Body Copy)
The rest of the text should be in Paragraph style. For SEO, the first sentence of each body copy block in the Paragraph style should include the keywords from the H2 section.
H4, H5, H6, etc (Supporting Styles)
These styles can be used throughout the copy to add variation but should always come after the previous Style, so search engines understand the order of your content.
For example, this section of your Blog content on your online store:
(This should be H2 Style) Outsource Where Possible
(This should be in Paragraph style) Outsourcing can at first seem like a large and unnecessary cost. But outsourcing has finally come of age in recent years. If handled sensitively and practically, the costs to gains ratio can be very effective - when utilized in the right circumstances.
(This should be in Paragraph style) For example, employing staff to deal with collections can actually be less effective where in fact they might be far more productive elsewhere ...if so, then it makes sense to outsource collections.
(This should be H3 or H4 style) Benefits of Outsourcing:
(This list should be in Bulleted List style)
- Introduces economies of scale
- Flexible and reactive output
- Efficient and specialized task handling
- Reduced labor and/or material costs
- Releasing in-house resources to conduct more critical tasks
How to get your Blogs to rank on Google and search engines and get your online store to the top of the rankings.

When we add blog posts to your Shopify site, it's essential to consider how the content displays and search engine optimization, so the structure becomes vital.
Search engines look at each blog in this order:
H1, H2, H3, H4, H5, Paragraph, Bulleted and Numbered Lists (lists are equal importance).
Search engine blog writing for your online store should be classified into these three lengths:
- Pillar Post +3,500 words
- Staple Post +2,000 words
- Response Post +1,000 words
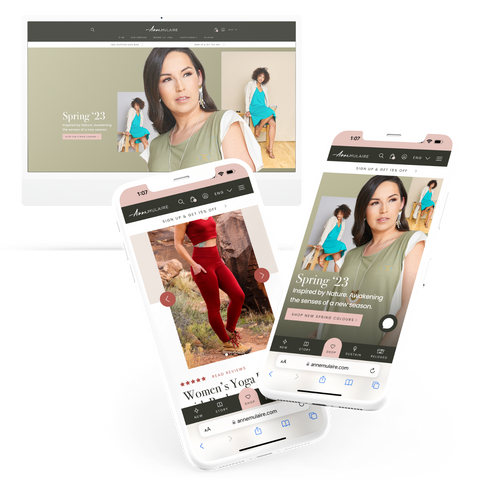
How to add Blog Images to your Shopify store

The image size should be 1500x1125 for your website. These images can be .PNG. .JPG. or .GIF formats. I recommend .PNG for quality and .JPG for speed.
When you add an image to your website, it's important to set Image Alt Text. This is done by clicking Update Image > Edit Image > Set Image Alt Text. You set Image Alt Text to help search engines classify what the Image is and what it relates to.
Want your website to rank on Google? Read How do I rank on Google with SEO writing?
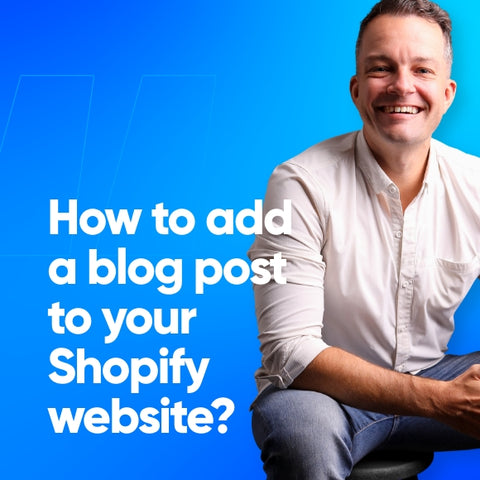
How to Add a Blog on your Shopify Site?
Then, pick one of these:
Shopify eCommerce Website
Search Engine Optimization (SEO)
Third, try these:

Start your Shopify Site

Write SEO Ranking Blog Posts