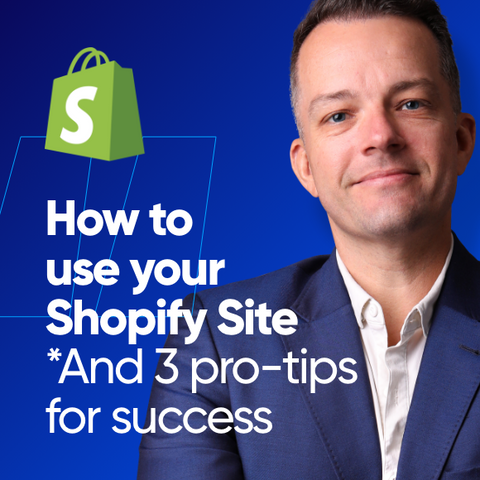
How to Get Started on Shopify
I’m Scott, your Shopify coach.
I aim to give you the best shot at building a successful e-commerce business.
Success in selling online also requires understanding the ins and outs of your Shopify online store or e-commerce website.
I’m here to help make that happen.
I coach direct-to-consumer brands to start selling online to the end user and business-to-business customers wholesaling their own products to sell elsewhere online.
I’m giving you three best practices that will supercharge your Shopify site to ensure you stick around to the end or skip to it.
The first is optimizing your product pages for your search results, and the second is monetizing search results on your e-commerce site, which you may not have considered.
Let’s dive into how I can help you operate and sell products in your own online store using Shopify.
With my Shopify coaching, I help solopreneurs build their online Shopify businesses and help e-commerce teams understand each aspect of their Shopify stores.
It doesn’t matter if you’re brand new to the Shopify platform, focused on understanding and basic setup, or an Expert looking to complete more difficult tasks.
I can help you manage customer accounts, order processing, shipping and fulfillment, and customizations, making it look beautiful and work perfectly to sell products.
There are 5 main sections of your Shopify site that I can help you with:
-
The admin dashboard where you manage your products, orders, and analytics
-
The online store dashboard where you edit your theme
-
The apps dashboard where you can install new apps, connect APIs, and learn what’s best
-
The settings dashboard where you edit everything from shipping to domains, to users and permissions
-
The front end of your website, where I give you best practices for building a beautiful site where customers will want to shop
Number 1 - The Admin Dashboard.
Located in the top left corner once you log in, this area gives you the main sections to operate and customize your website:
-
Home - This is an overview of what’s happening with your store on a daily, weekly, monthly, and yearly basis
-
Orders - This is where you find orders that have been placed, ones that need to be fulfilled, and abandoned carts
-
Products - This is where you manage your Collections, Inventory, Purchase Orders, Transfers and Gift Cards
-
Customers - This is where you manage your customers. If a customer inputs their information on a form on your Shopify site, this is where they end up
-
Content - This is where you manage Files (where your digital downloads go, but we'll get to a cool monetization trick shortly) and your Metaobjects, where you can add your own functionality. You can also Upload images and Files here.
-
Analytics - This is where you can see different levels of detail regarding Website Traffic, Conversion Rate, and Sales
-
Marketing - This is where you can manage your Campaigns to see where orders are coming from and Automations to leverage successful campaigns
-
Discounts - This is where you can make discount codes to help increase your conversion rate
Number 2 - The Sales Channels Dashboard
Located in the middle left once you log in, this gives you access to the sections of services and resources that directly affect the following on your site:
-
Themes - This is where you can customize themes for your website. You can have up to 20 secondary themes and one live theme that customers see. You will also add and edit Blogs and Pages here
-
Navigation - This is where you add navigations throughout your site. You can have multiple navigations, which are useful for the standard header menu everyone uses, to secondary navigation links that go in the footer of your site
-
Preferences - This is where you add your website Title and Description and add connections to your Google Analytics and Facebook Pixel
-
Inbox - When you receive emails and chats through the default Shopify Inbox app, they will go here
Number 3 - The Apps Dashboard
Located just below the previous section, this is where you manage your Apps and make any edits to them. To add Apps to your store, you start with the Search bar at the top of the Admin Dashboard.
Start typing what functionality you want the theme store to add, such as “email newsletter,” the system will retrieve a list of apps from themes.shopify.com to give you options.
Number 4 - The Settings Dashboard
The Settings Dashboard is located in the bottom left of the Shopify Admin Dashboard; clicking this link will take you to the details of your Shopify site.
Settings for online stores are often a sticking point for Shopify users as there is just so much to do here. I’ll go through each of them in an overview to give you a general understanding of what you’re dealing with in this section.
-
Store details - Add and edit details about your business including business name and address
-
Plan - Make changes to your Shopify hosting plan
-
Billing - Manage how Shopify bills you for hosting, themes, and apps
-
Users and permissions - Manage users and collaborators such as developers
-
Payments - Manage your payment gateways, such as PayPal, Amazon Pay, Stripe and Apple Pay
-
Capital - Borrow money from Shopify to grow your business
-
Checkout - Make adjustments to your checkout page with 1-page and 3-page checkout available
-
Customer accounts - Adjust settings about how your customers interact with your site
-
Shipping and delivery - Setup and modify local and international shipping, shipping costs, as well as shipping labels and shipping providers
-
Taxes and duties - Charge the correct taxes for the regions you deliver to
-
Locations - Manage where your business is located and where you fulfill orders
-
Gift cards - Edit details about your gift cards
-
Markets - Sell globally with localized website settings
-
Apps and sales channels - See all of your Apps in one place and where your products sell, as well as marketing channels
-
Domains - Add domain names to your website
-
Customer events - Manage your app pixels, which change based on what the customer does on your site
-
Brand - Where your brand identity assets are located
-
Notifications - Adjust how you and your customers receive notifications at each step of the sales process
-
Custom data - Add metafields and metaobjects for advanced functionality throughout your site
-
Languages - Add different languages to your site to translate based on customer location
-
Policies - Where you add your Store policies, such as Refund and Privacy policies
-
Store activity log - See who is using your site and where they're coming from
Number 5 - The Front End of Your Site
This is the customer-facing services section of your website domain, the “live” site.
There are 5 types of pages you’ll create on your own Shopify store site:
-
Landing Pages - These are pages where you will send direct and ad traffic, such as your Home, About, and Contact pages
-
Product Pages - These are the pages where customers purchase and can see detailed information about your product
-
Collection Pages - These are pages that are groups of products
-
Blog Pages - These are informational pages where you write content about your particular niche
-
Cart and Checkout Pages - These pages are where your customer reviews their order and pay
Each site will be significantly different, so let’s talk about best practices you can apply immediately to give your Shopify website a head start against the competition.
I’ve broken these into Strategy, Search Engine Optimization, and Monetization.
Shopify Website Strategy
First up, let’s talk about Strategy for your Shopify site.
With each page you create online, it’s important that you answer the following questions (I’ll give you some actionable answers you can implement right away):
-
What do I want the customer to do on this page?
-
What does the customer need to know to take action?
-
How do I increase conversions on this page?
-
How will the customer find this page?
-
How do I get the customer to checkout from here?
Number 1 - What do I want the customer to do on this page?
There are basically 2 choices here: you’re either going to be teaching the customer about your product or service or asking them to purchase or sell it.
If you’ve chosen to teach the customer, you’re making what’s typically called an informational page. A pro tip for breaking down how to make these pages more effective is to organize the information in the following order:
-
Benefits - This is the result the customer can expect from your product or service
-
Features - This is the specific information about your product or service
-
Proof - This is proof that your product or service delivers benefits by way of customer reviews and data or comparisons
-
Cost - This is how much the customer will expect to pay
-
Timeline - This is how long it will take to receive the product or service
By structuring your content writing this way, you can increase your conversion rate and decrease customer acquisition costs.
This format is so effective because it builds customer confidence that your product or service can solve their problem by understanding and educating your customers.
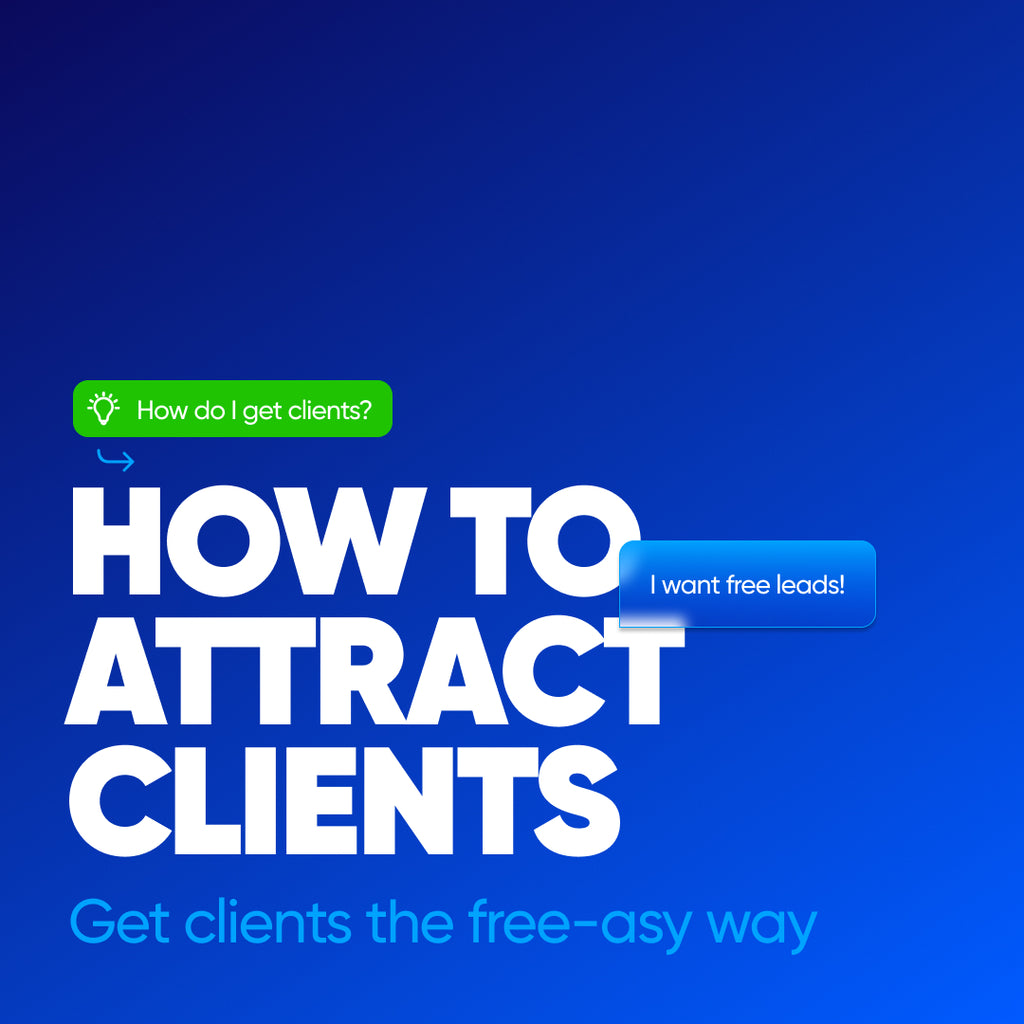
Number 2 - How to get inbound organic traffic to your pages for free?
If no one reads your content, then is it really that good?
When writing content, it’s common (especially when hiring professional writers) to focus on being clever instead of clear.
If you’ve poured tons of time and money into amazing copy, but you’re getting little to no traffic to your site, the content isn’t working, regardless of how clever it may sound.
Fear not! There is a solution to this, and it’s a step-by-step process:
-
Google the keywords you want to use to find your product or service
-
Look at the top 3 organic links (not the paid ads)
-
Record the top 10 questions related to your search; this is called the “People also ask” section
-
Copy all of the content of the top 3 organic links and find out the word count with a writing app such as Google Docs as well as the average quantity of images used
-
Use the word count to give you a baseline for the minimum amount of content to write for your landing page
-
Answer the top 10 questions from the people also ask section in a FAQs section on your landing page
-
Add your new content and images to your landing page
-
Structure your content starting with H1, H2, H3, H4, Paragraph, and Alt Text for images.
-
Add 1-2 links per every 3 paragraphs you’ve written on your landing page to related pages throughout your site
-
Publish your new landing page and re-index your page with Google Search Console
I use this process on all of my client’s sites to ensure that they rank on the first page of search results for engines on Google.
By creating content for each of your landing pages using this system, you will make the Google Gods happy, and in turn, they’ll decide to rank your pages much higher in search and search engine results too.
The more pages that rank well on your site will naturally boost the other pages you may not have completely optimized yet.
Number 3 - How do you earn passive income with your Shopify website?
As you grow your business and traffic builds on your own platform, store or website, numerous other ways to sell and generate revenue from your hard work go beyond your core products and services.
Adding these to your site will increase your overall income and build passive income.
You'll see revenue slowly trickle in within the first few months of optimizing for passive income.
It may be only a few cents initially, but after a year or two, you’ll notice that the money you’re earning passively helps take care of your main bills.
This takes tons of pressure off your budget, and even better if you can invest your passive income, you’ll build a passive wealth-generating website.
The goal here is to understand the steps of passive income:
-
Earn your first dollar ($1/month) - Usually in your first month
-
Earn enough to pay for your website hosting ($30/month) - Usually in the second or third month
-
Earn enough to pay your internet and phone bill ($150/month) - Usually within 6 months
-
Earn enough to pay for your car ($500/month) - Usually within 1-2 years
-
Earn enough to pay your rent (+$1500/month) - Usually after 2 years
What are the passive income streams you can add to your website?
-
Google Adsense - Typically, this pays $0.30-0.60 every time a viewer on your site clicks an ad, but I have personally seen this as high as $19.26 per click. For example, Google Adsense pays for my website and the apps I use.
-
Affiliate Links - Most SaaS products have an affiliate link. I recommend products such as SurferSEO, SEMRush, and Shopify. When you sign up for these products using these affiliate links, I earn $20-250 in flat rate payments or a monthly 10-20% revenue share. For example, Shopify affiliates cover my car payment.
-
Digital Products - Offering your own downloads is a great way to take your knowledge, package it, and sell it as a PDF, which has no publishing cost other than getting your thoughts down in the correct format. For example, digital products pay for my internet, phone, and other peripheral costs.
My goal is to ensure that you’re successful with your Shopify site.
If you have any questions, please feel free to schedule a consultation to see how we can work together or jump right in and schedule a coaching call so we can get your online business up and running fast.
I’m Scott Luscombe of Creatibly, your Shopify Coach; make sure to like, subscribe, and drop a comment below!
How to Get Started on Shopify - Shopify Coaching
Then, pick one of these:

Shopify eCommerce Website
Search Engine Optimization (SEO)
Third, try these:

Get Your Shopify Website FREE!

Crush the Competition on Search Results